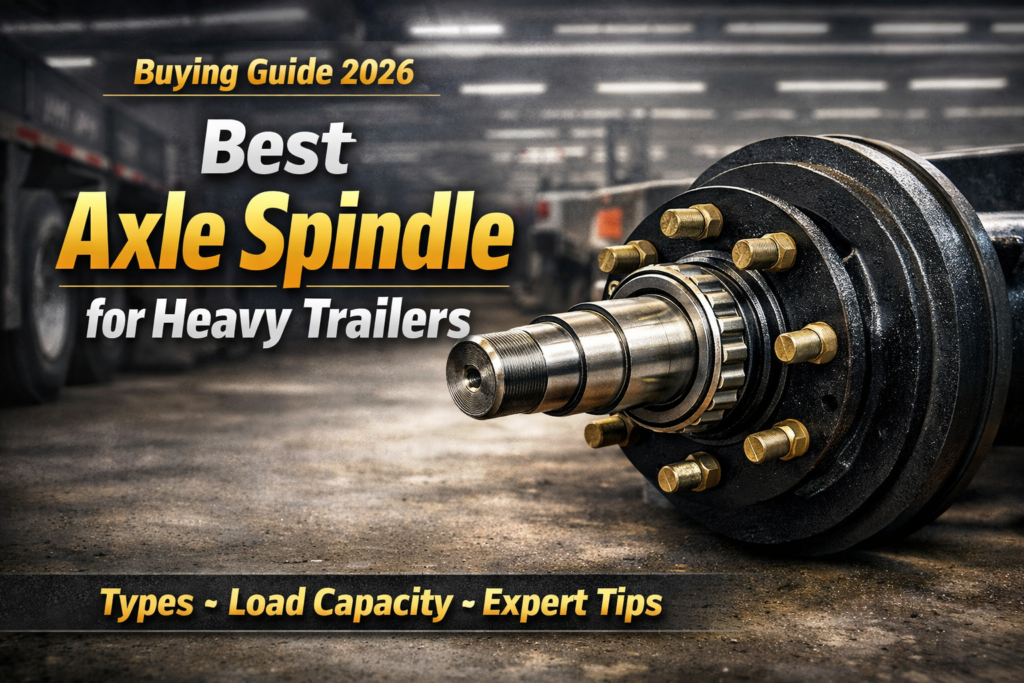
A complete trailer spindle replacement guide to fix a broken spindle, reduce downtime, and get back on the road safely.
A trailer spindle replacement becomes unavoidable when bearings keep failing, wheels begin to wobble, or excessive heat builds up around the hub. These warning signs often show up gradually, first as uneven tire wear or noisy bearings, then as recurring failures that never quite get resolved with simple adjustments.
Many trailer owners assume the only solution is replacing the entire axle assembly, which can be expensive, time-consuming, and often unnecessary. Full axle replacements also introduce long lead times, especially for custom or heavy-duty axles.
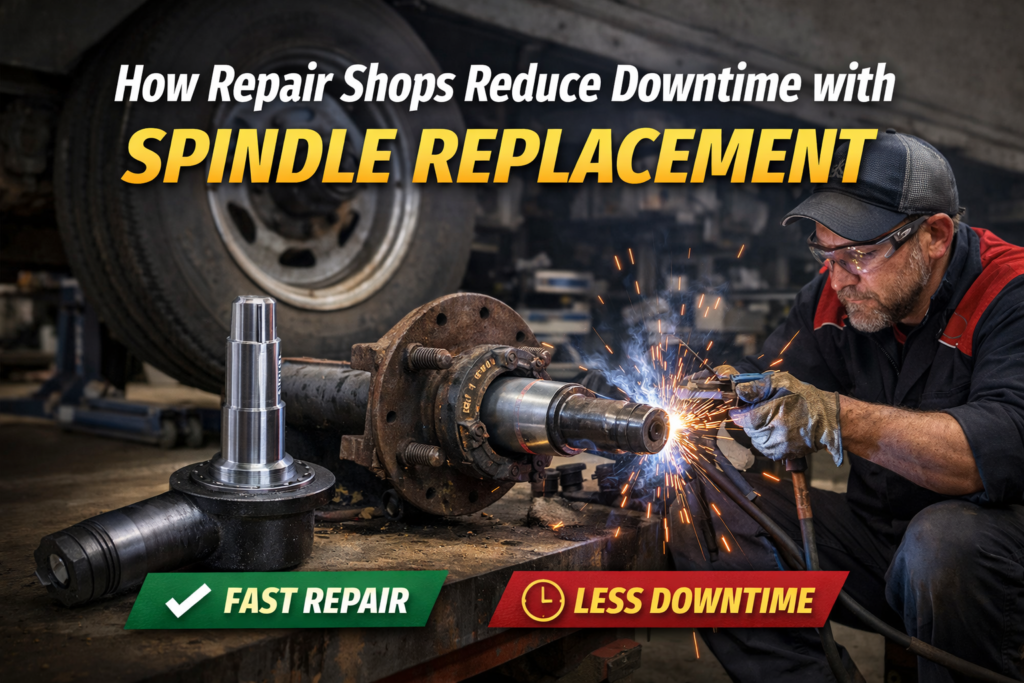
The reality is this: with the right tools, correct measurements, and a proper installation process, a DIY trailer spindle replacement can restore safety, alignment, and performance at a fraction of the cost of replacing the whole axle. For fleets and service shops, spindle replacement also means less downtime and faster turnaround.
In this guide, you’ll learn how to replace a trailer spindle step by step, including safe removal, cutting and preparation, alignment, welding, reassembly, and final safety checks. Whether you’re a service shop technician, fleet operator, or experienced trailer owner, this guide walks you through the entire process in a clear, professional way.
When Do You Need a Trailer Spindle Replacement?
Before starting a trailer axle spindle repair, it’s important to confirm that the spindle truly needs replacement rather than adjustment or bearing service.
Common signs of a broken or failing spindle
- Repeated bearing failure despite proper lubrication
- Excessive wheel wobble or looseness
- Uneven or accelerated tire wear
- Blue or black heat marks on the spindle surface
- Scoring, grooves, or pitting where bearings ride
- A bent spindle causing alignment or tracking issues
If one or more of these symptoms are present, a broken trailer spindle fix is critical. Ignoring spindle damage can lead to catastrophic failures such as wheel separation, axle damage, or loss of control while towing.
Tools Needed for Trailer Spindle Replacement
Having the correct trailer spindle replacement tools is essential for safety, accuracy, and long-term reliability. Cutting corners on tools often leads to misalignment, premature bearing wear, or unsafe welds.
Essential tools
- Angle grinder or cutting torch
- Hammer and punch
- Bearing puller
- Measuring calipers or micrometer
- Spindle alignment jig
- MIG or TIG welder
- Torque wrench
- High-quality bearing grease
- Safety gear (gloves, welding helmet, eye protection)
Using the proper tools ensures your trailer spindle install guide produces a square, aligned spindle that performs like a factory installation.
Step 1: Safely Lift and Secure the Trailer
Safety should always be your first priority.
- Park the trailer on a flat, level surface
- Chock the opposite wheels to prevent rolling
- Lift the axle using a heavy-duty jack rated for the trailer’s weight
- Support the trailer with jack stands placed under the frame
- Remove the wheel and hub assembly
Never rely solely on a jack. A stable, secure setup protects both you and the trailer during the repair.
Step 2: Remove the Hub, Bearings, and Seal
Before spindle removal, the hub assembly must be fully removed.
- Pry off the dust cap
- Remove the cotter pin or locking device
- Loosen and remove the spindle nut
- Slide the hub off the spindle
- Remove bearings and grease seal
This step exposes the damaged spindle and prepares you for the trailer spindle removal steps that follow.
Step 3: Cut Off the Damaged Spindle
For most weld-on spindles, removal requires cutting.
- Measure and mark the cut line carefully
- Ensure the cut is square to the axle tube
- Use an angle grinder or torch to remove the old spindle
- Avoid overheating or distorting the axle tube
A clean, straight cut is critical for a successful trailer axle spindle repair. Any unevenness here will affect alignment later.
Step 4: Prepare the Axle Tube and New Spindle
Preparation is where precision matters most.
- Grind the axle tube smooth and flat
- Remove rust, paint, grease, and debris
- Test-fit the new spindle to confirm seating
- Verify bearing sizes, seal surface, axle diameter, and load rating
This step ensures the trailer spindle replacement fits correctly and avoids premature wear or bearing failure.
Step 5: Align the New Spindle (Most Critical Step)
Improper alignment is the number one cause of failed DIY trailer spindle replacement jobs.
- Install a spindle alignment jig
- Ensure the spindle is perfectly square to the axle tube
- Double-check camber and toe alignment
- Confirm consistent spacing around the axle tube
Even minor misalignment can cause overheating, rapid bearing wear, and uneven tire loading. Take your time here-precision saves money and prevents repeat repairs.
Step 6: Weld the New Trailer Spindle
Once alignment is confirmed, welding can begin.
- Tack weld the spindle in multiple spots
- Recheck alignment after tacking
- Complete a full, even weld around the spindle
- Allow the weld to cool naturally (do not quench with water)
A proper weld provides the structural strength needed for heavy loads and long-distance towing.
Step 7: Reinstall Bearings, Hub, and Wheel
After welding and cooling:
- Pack bearings thoroughly with high-quality grease
- Install the inner bearing and grease seal
- Slide the hub onto the spindle
- Install the outer bearing, washer, and nut
- Torque the nut to manufacturer specification
- Install the cotter pin and dust cap
This completes the trailer spindle install guide process and prepares the trailer for final checks.
Step 8: Final Safety Checks
Before towing the trailer:
- Spin the wheel to ensure smooth rotation
- Check for play or wobble
- Inspect weld integrity visually
- Re-torque lug nuts
After the first short trip, stop and check bearing temperature and torque again. Early rechecks help catch issues before they become serious problems.
DIY vs Professional Trailer Spindle Replacement
A DIY trailer spindle replacement can be a great option-but it’s not for everyone.
DIY is ideal if:
- You have welding experience
- You own alignment tools
- You’re repairing a non-critical or lightly loaded trailer
Professional repair is recommended if:
- The trailer carries heavy loads
- Axle ratings are in the 10K–15K range
- The trailer is used commercially or in a fleet
In these cases, precision-fit replacement spindles deliver cost savings while maintaining safety and reliability.
Why Replace a Spindle Instead of the Whole Axle?
A trailer spindle replacement offers several clear advantages:
- Saves hundreds or even thousands of dollars
- Faster turnaround than custom axle orders
- Reduces trailer downtime
- Preserves original axle geometry and fitment
For fleets and service shops, spindle replacement improves uptime, throughput, and overall operating efficiency.
Frequently Asked Questions (FAQ)
Yes. When alignment, welding, and fitment are done correctly, spindle replacement restores axle integrity without compromising safety.
Most repairs take 2-4 hours, depending on cutting, welding, and bearing replacement.
Yes, but torsion axle spindle replacement requires additional care and proper jigs due to internal suspension components.
Measure bearing journals, seal surface, axle diameter, and load rating before ordering a replacement spindle.
Conclusion
A properly executed trailer spindle replacement is one of the smartest, most cost-effective trailer repairs available. By following the correct trailer spindle removal steps, using the right tools, and taking the time to align the spindle accurately, you can restore safety, performance, and reliability without replacing the entire axle.
Whether you manage a fleet, operate a service shop, or handle your own repairs, choosing precision-fit replacement spindles helps you get back on the road faster and with confidence.
Need expert help selecting the right replacement spindle?
Contact Trailer Spindles today for fitment guidance, fast USA & Canada shipping, and OEM-quality solutions designed to keep you moving safely and efficiently.